|
|
Post by rpr851r on Jan 14, 2017 12:34:24 GMT -5
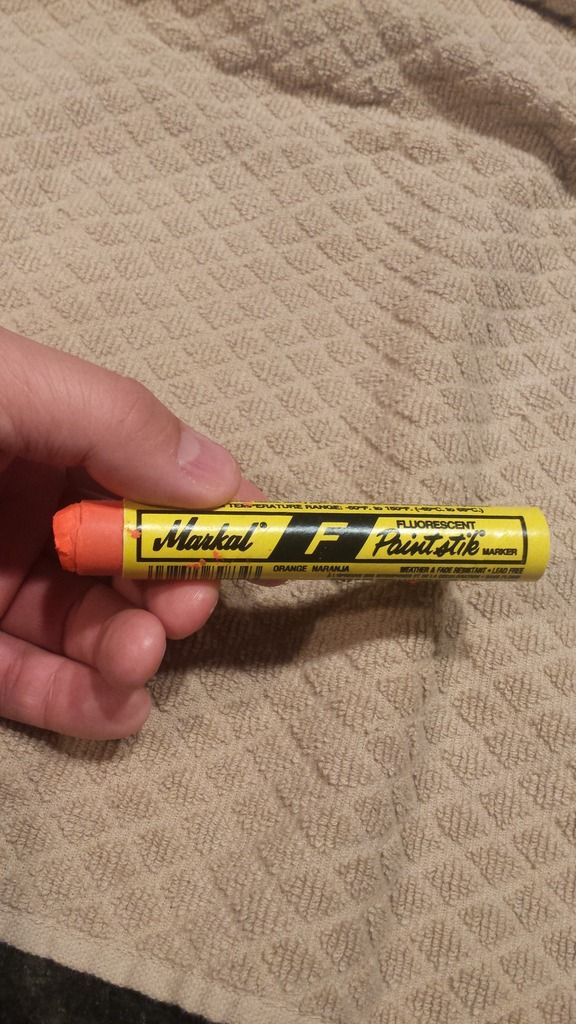
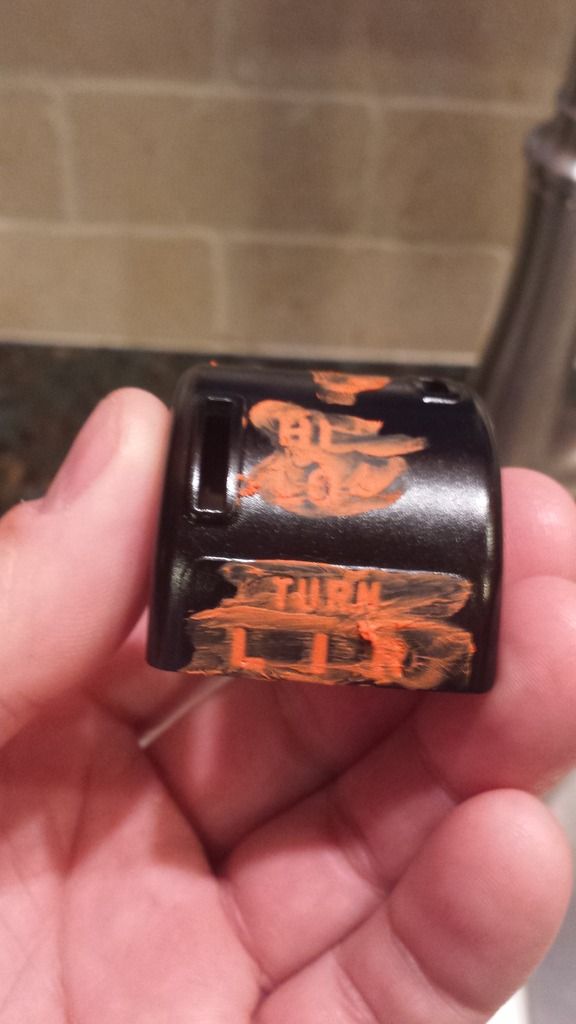
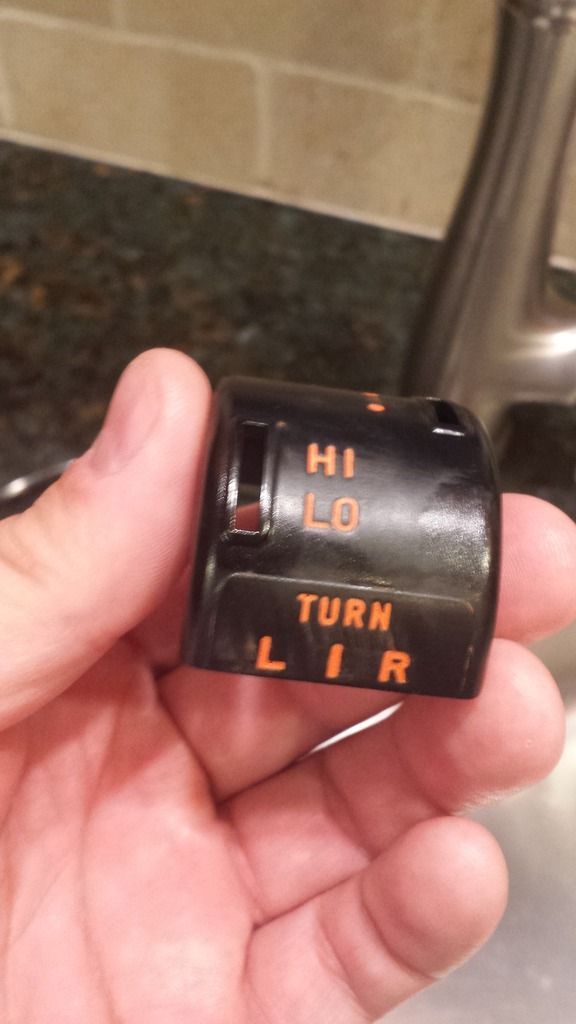
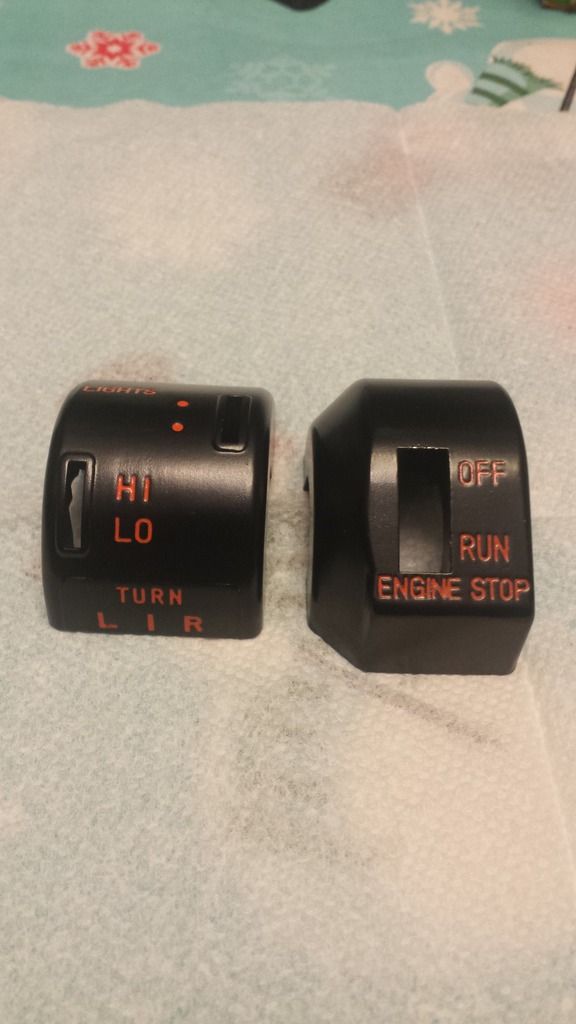
I know this isn't as impressive as a proper rebuild but it drove me nuts trying to get the paint on the controls right with nice neat lettering so I thought I would share my final process. First I stripped the old paint off and made sure the recesses were clean. Once prepped I shot them with 2 coats of VHT semi gloss engine enamel and let them dry for 8 hours. So far nothing impressive... Next I used a fluorescent orange paint stick to fill the lettering in and carefully wiped off the excess with a tissue. I tried using fluorescent model paint prior to the paint stick but the results were poorer than I would like.    After cleaning this up a little more it goes into an oven at 170 F for two hours. After baking they look like this.  I know that both dots on the one control shouldn't be painted and have gone back and fixed it up. I'm sure the orange paint isn't as durable as some other but it's nice in that it can be touched up easy. I hope my process saves someone out there some time. Regards, Rich |
|
|
|
Post by wayne on Jan 14, 2017 17:13:16 GMT -5
Thanks for that. The end result looks very good. I have used the model paint thing before but when I bought some NOS items, I was surprised at how bright the orange really is.
The paint stick comes very close and is an idea I haven't come across from anyone before.
Do you mind if I change the title of this slightly by adding the word "switchblock" into it ? It may make it easier to find on a search.
|
|
|
|
Post by rpr851r on Jan 14, 2017 17:21:39 GMT -5
Wayne,
No issues from me changing the name. I came across the paint stick idea when searching on a gun forum. They are used to make engravings readable.
|
|
|
|
Post by don07tncav on Jan 14, 2017 18:41:03 GMT -5
Really looks good. Would clear-coat over the top seal it?
|
|
|
|
Post by rpr851r on Jan 15, 2017 8:13:21 GMT -5
Clear coat is an option but the paint seems durable enough as long as it isn't abused too bad. I think the key is to bake the engine enamel and the paint stick together. I tried baking the engine enamel first then applying the orange paint to the letters and baking again but the result wasn't as durable.
|
|
|
|
Post by rotarycycle on May 12, 2017 23:30:06 GMT -5
I prefer to do this to a higher level of detail as the switch bodies are a little rough on the castings. Also since too many different types of finish were used for the black on parts of the bikes, I use one type on all the black painted parts for consistencey. Besides all of the preparation work done to the cases, the internals are stripped and fully rebuilt, new sheathing etc. Attachment DeletedSome cases after media blasting.  Some of the small parts cleaned up. Attachment DeletedTwo switches ready for fitting. |
|
|
|
Post by wayne on May 13, 2017 0:52:00 GMT -5
Nice job.
|
|
|
|
Post by rotarycycle on May 13, 2017 6:46:44 GMT -5
Thanks for your comment Wayne, to get a smoother finish on the rough aluminum it takes a bit more work, most of the time you have to apply one wet coat, let it dry completely, then wet sand out the imperfections in the casting and apply the next.  A closer look at the restored finish on the left switch for a 72 GT750J.  A closer look at the paintwork on a 75/76 left switch before lettering is applied. |
|
|
|
Post by Framitron on Aug 31, 2017 7:03:35 GMT -5
These repaints are incredible looking. I really like the high gloss candy finish. Just curious, what blasting media was used? And what was done to polish the small plastic buttons?
|
|