|
|
Post by rpr851r on Nov 5, 2016 18:30:23 GMT -5
Hello all, I am working on my radiator grill. So far I have repaired one crack with Plastic Fix and now would like to tackle the large missing piece on the right side. Anyone out there with a busted up and otherwise unusable grill that I could get the piece from? Thanks, Rich 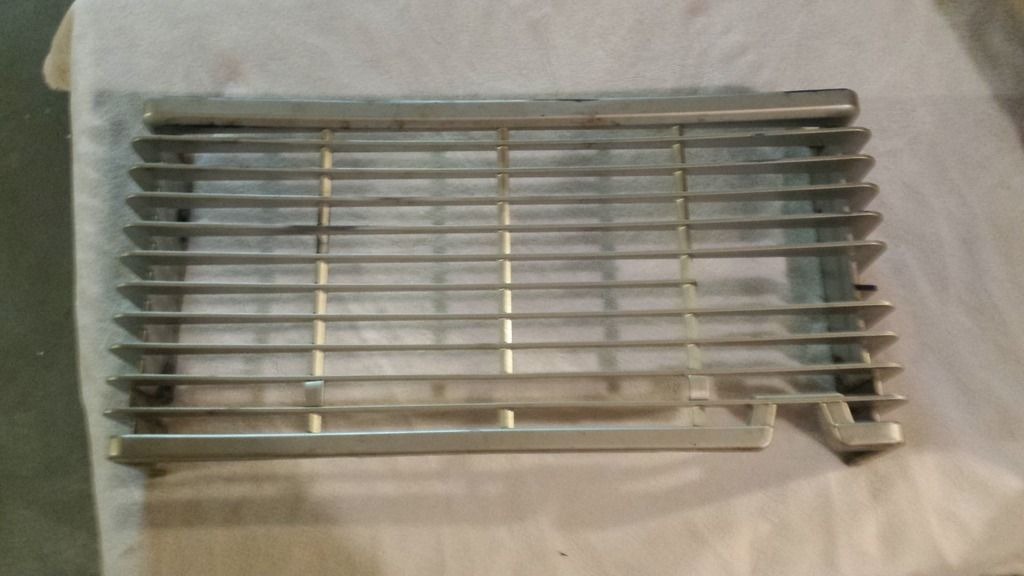 |
|
|
|
Post by h2e Al In Aus on Nov 8, 2016 0:53:58 GMT -5
go to your local Panel shop , they thow out good (damaged ) car grilles and plastic bars all the time , you can make something that not close look original with a little work and time , and very handy to have some at home to fix other plastic bits , urs Al
|
|
|
|
Post by rpr851r on Nov 8, 2016 7:49:28 GMT -5
Thanks Al, I was trying to figure out where to get some like material to work with.
|
|
|
|
Post by rpr851r on Nov 13, 2016 11:18:41 GMT -5
I didn't see anything on the forum regarding repairing the grill so I figured I would share the process I used to get mine in shape. I didn't have much luck coming up with a piece of old grill to use in repair of my grill so I did a little research and found out the grill is most likely ABS plastic. I sourced a 1/4" thick x 2" wide length of ABS from McMaster and set out to shape it to match the missing piece. 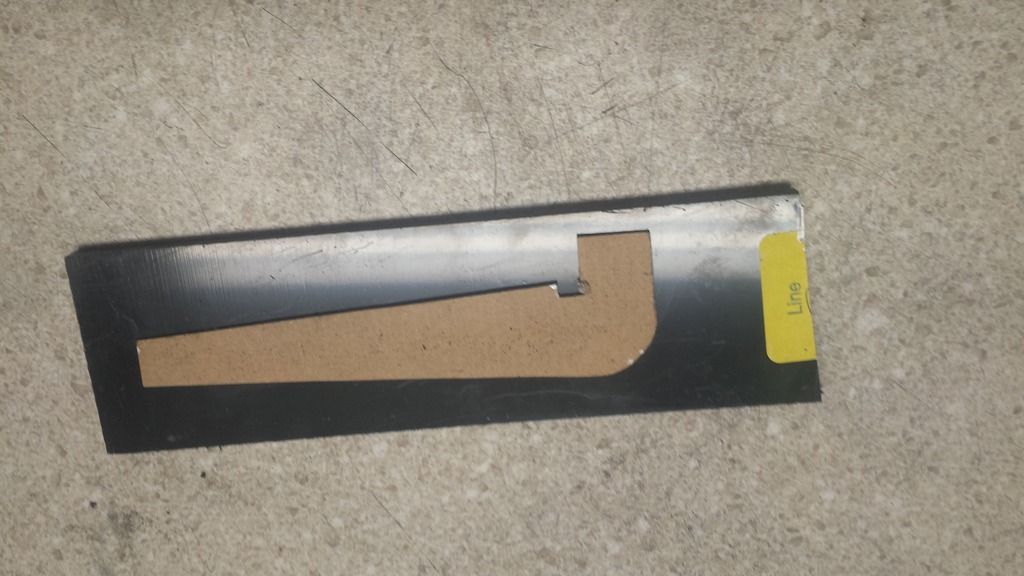 After a couple of hours sanding and shaping I ended up with the piece below. 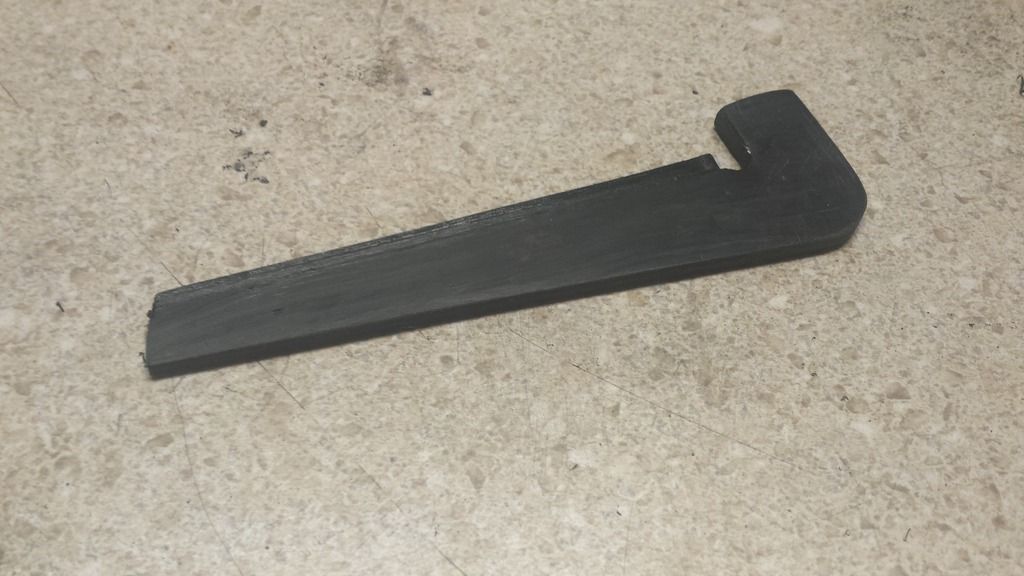 Using Plastex I fitted the piece in the grill and continued to work it shape. I have used Plastex before to fix a broken mounting tab on my CT90 air box with success so I used it again here. I also tried the solvent weld trick with acetone and made up a few test pieces but the Plastex seemed much stronger. The ends of the piece and the grill were beveled to provides lots of glue area and once fitted and cured is plenty strong. 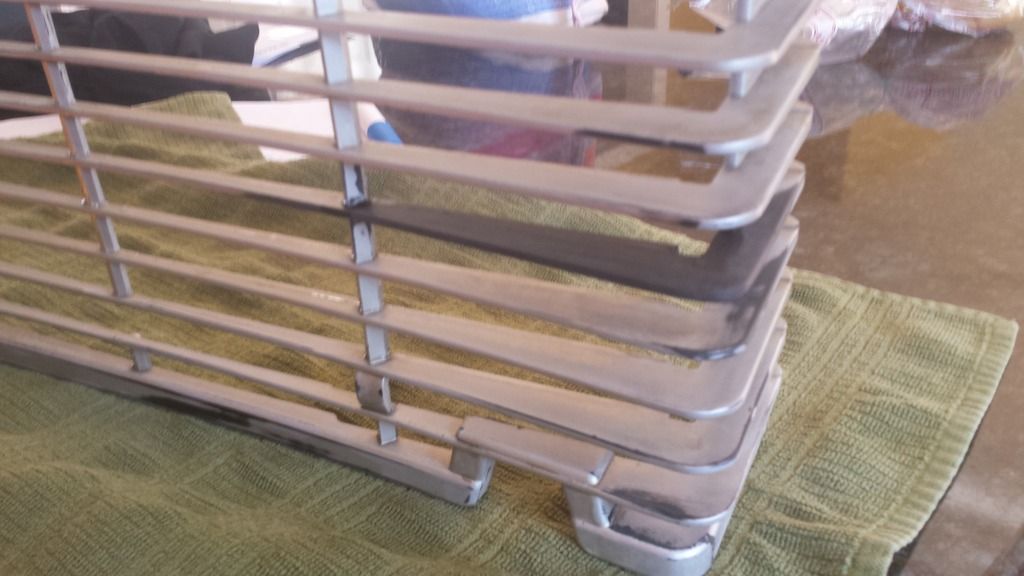 After priming sanding and paint it looks pretty good. One more round of sanding with 400 grit and a dusting of paint i don't think the fix will be visible unless you have your nose right up to it. 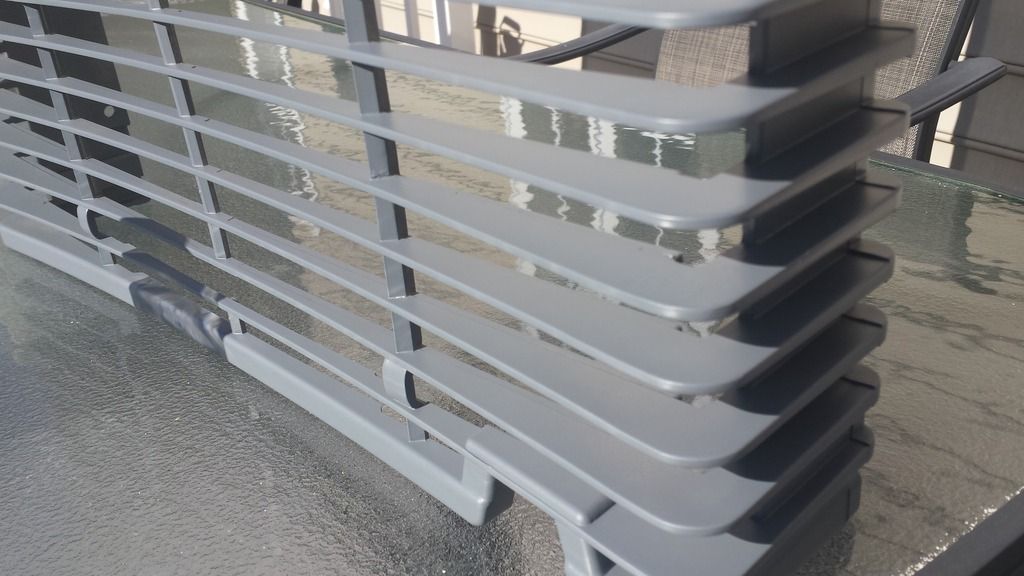 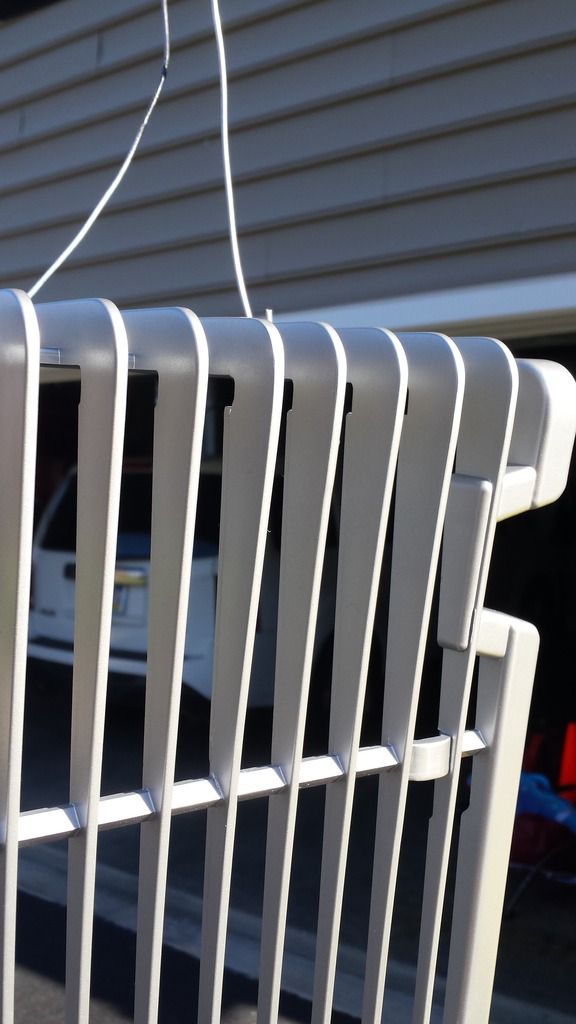 I have learned a bunch from the forum and hope the process shared can help someone out. |
|
ap951
2nd Gear
 
Posts: 282
|
Post by ap951 on Nov 13, 2016 11:33:28 GMT -5
nice work you've done there rpr851r
All it took was your time, and a few bucks for supplies
|
|
|
|
Post by Jess on Nov 13, 2016 13:10:35 GMT -5
Very nice work...
Well done
Best
|
|
|
|
Post by raychappo on Nov 13, 2016 13:26:54 GMT -5
Good job
|
|
|
|
Post by Al Corelli on Nov 13, 2016 13:56:21 GMT -5
Very nice work.
|
|
|
|
Post by wayne on Nov 13, 2016 15:07:22 GMT -5
Yep, ditto.....that's very impressive. I've used "Evergreen" architectural plastic sheets for other jobs but lacked the lateral thinking to suggest it. Well done for sure.
|
|
|
|
Post by timpa136 on Nov 13, 2016 16:44:49 GMT -5
Thanks for the "how to". Looks great.
|
|
|
|
Post by don07tncav on Nov 14, 2016 5:51:18 GMT -5
Looks super! Great idea!
|
|
|
|
Post by goandy on Nov 14, 2016 6:40:41 GMT -5
That's bloody awesome!
I just love the lateral thinking (and skill) that these bikes bring out!
|
|
|
|
Post by janski on Nov 14, 2016 9:59:26 GMT -5
Massive inspiration, hope my repairs come out as good.
Which silver top coat did you choose?
|
|
|
|
Post by rpr851r on Nov 14, 2016 13:14:23 GMT -5
Thanks for all the responses and glad to give back to the board a little.
The paint I used is VHT Silver Wheel paint. It's close enough for me but there might be better alternatives if you are looking for that exact OEM match but I wouldn't know what they are.
|
|
|
|
Post by h2e Al In Aus on Nov 14, 2016 16:32:19 GMT -5
very nice work looks really good,
|
|